Chapter 11 SD Card Logging - Method 5
This chapter explores writing data directly to a micro SD card. This is helpful because when the datalogger is done taking data, it is easy to power down the system, take the SD card out and pop it into a laptop for post-processing. For the CPX/CPB setp it helps because you don’t have to have data writing to the internal storage which can potentially brick the system. You have code and data storage in two different places. Setting up this system requires a few steps for both CPX/CPB and Arduino microcontrollers. The Arduino UNO is capable of writing to the micro SD card but the only difference is that the pins setup is different. There is a very indepth SD card tutorial on Adafruit that can be used in conjunction with this tutorial if extra help is needed [34].
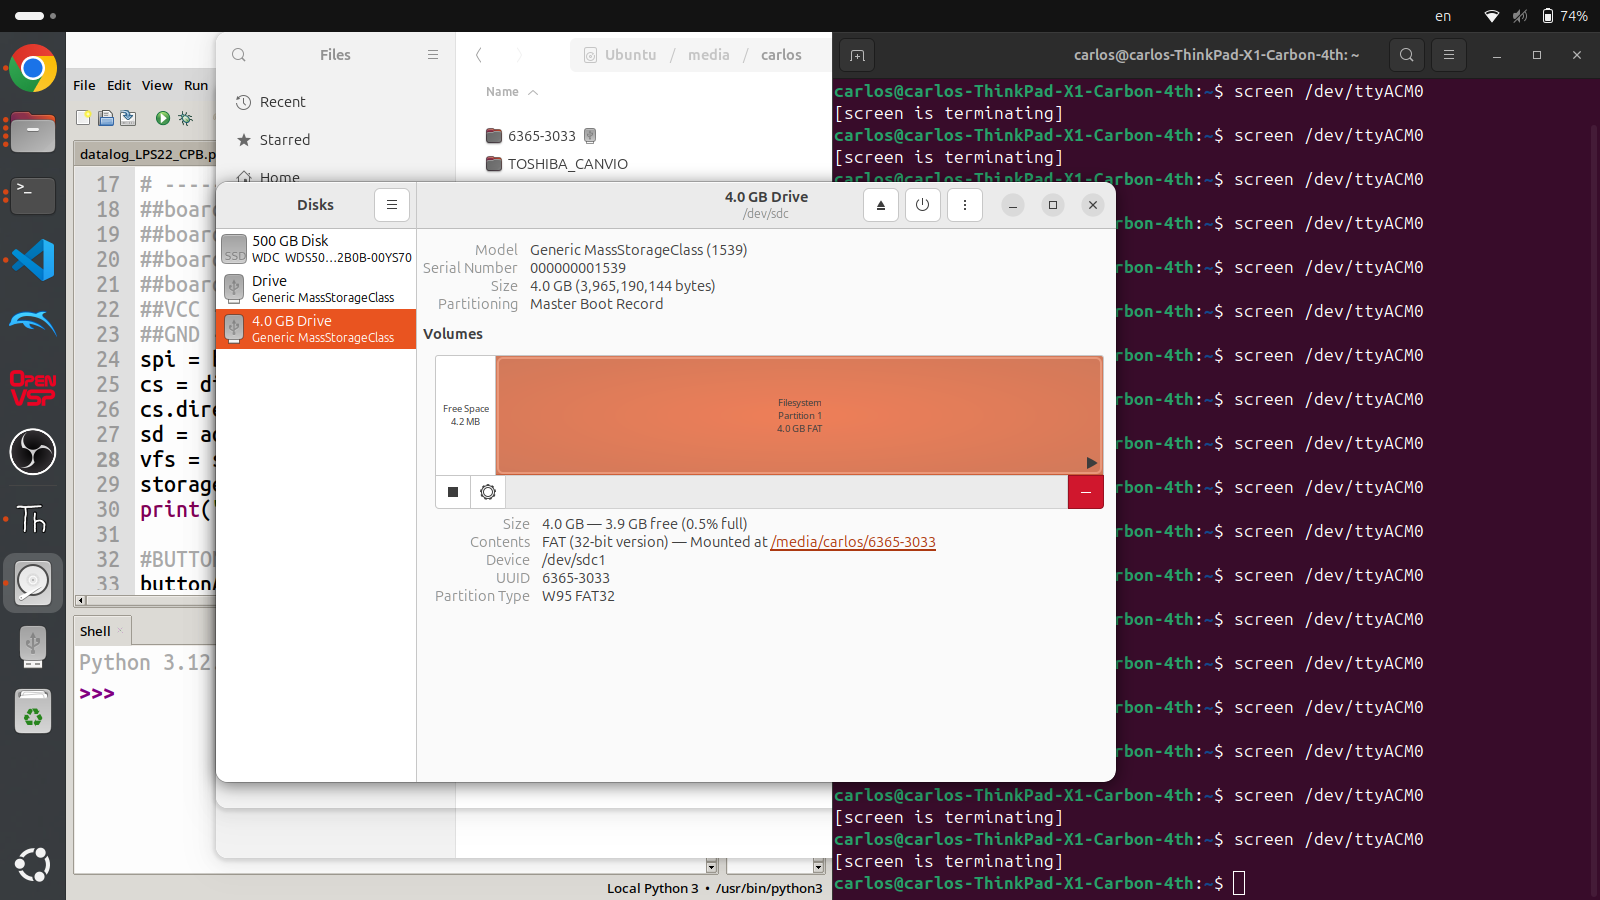
No matter what for both microcontrollers you need to have a micro SD card formatted to FAT32. In Linux that means you need to navigate to the Disk utility app and format the disk. On Windows or Mac you need to use a similar program to format the disk.
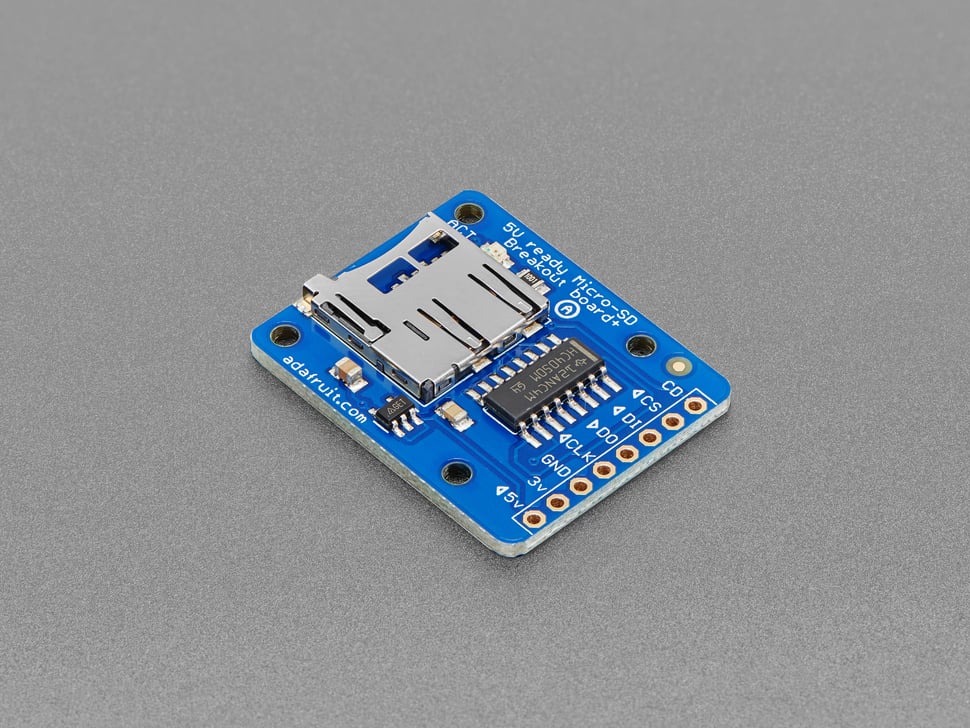
Also, when you open the packaging of this breakout board you’ll notice that the header pins are missing. First you’ll need to cut a row of 8 to solder the header pins to the board. If you’re taking my class I can solder this for you or teach everyone about soldering during a lecture session of class. If you are taking this class elsewhere you have two options: try and find someone who can solder this real quick (only takes about 5 minutes) or buy your own soldering iron and try to solder yourself. Once the device is soldered you can "plug" it into a breadboard and then move on to either the Arduino or CPX/CPB sections.
