
Project Based Engineering Instrumentation High Level Coding and Microcontrollers

Chapter 25 Load Cells

List 25.0.1. Parts List
  1. Laptop
  2. CPX/CPB or Arduino
  3. USB Cable
  4. HX711 Load Cell Amplifier (Note that other amplifiers will work)[34]
  5. Alligator Clips (x4)
  6. Bread Board
  7. Soldering iron
  8. Digital Scale
List 25.0.2. Learning Objectives
  1. Continue to understand the concept of soldering
  2. Load Cell calibration
  3. Read load cell data and plot it
In this lab we’re going to use a strain gauge load cell and load cell amplifier to make a digital scale.
Figure 25.0.3. Strain Gauge Load Cell
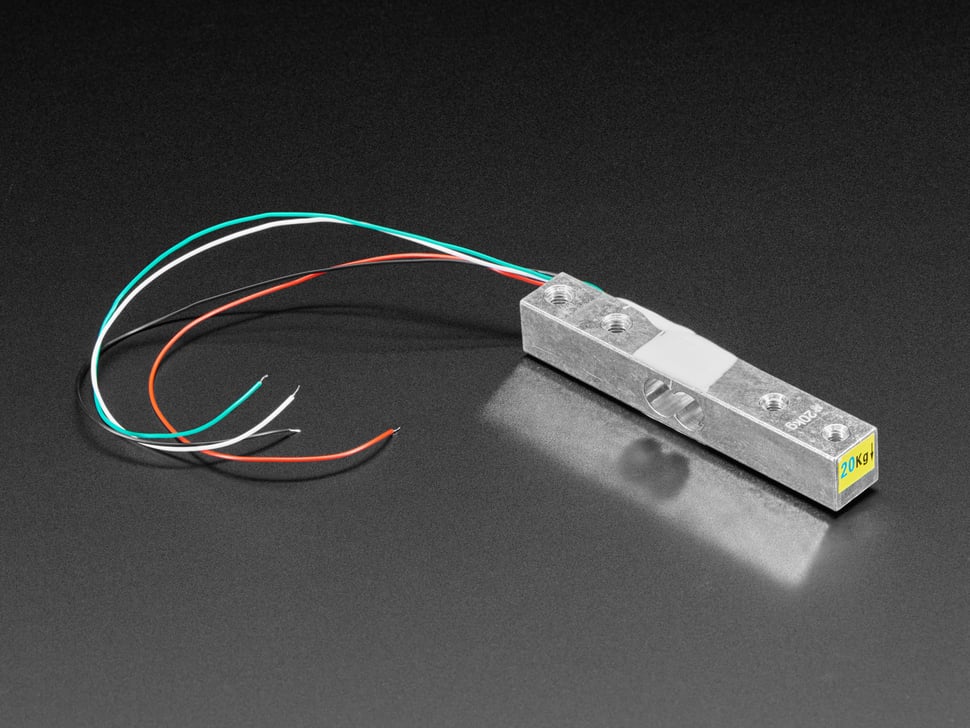
The sensor above is the a strain gauge load cell[34]. The load cell itself is mounted to a metal beam with large holes in it so it can deflect when a load is placed on to it. The strain gauge itself changes its resistance when a load is applied but the output voltage is so low that an amplifier is needed.
Figure 25.0.4. Load Cell Amplifier
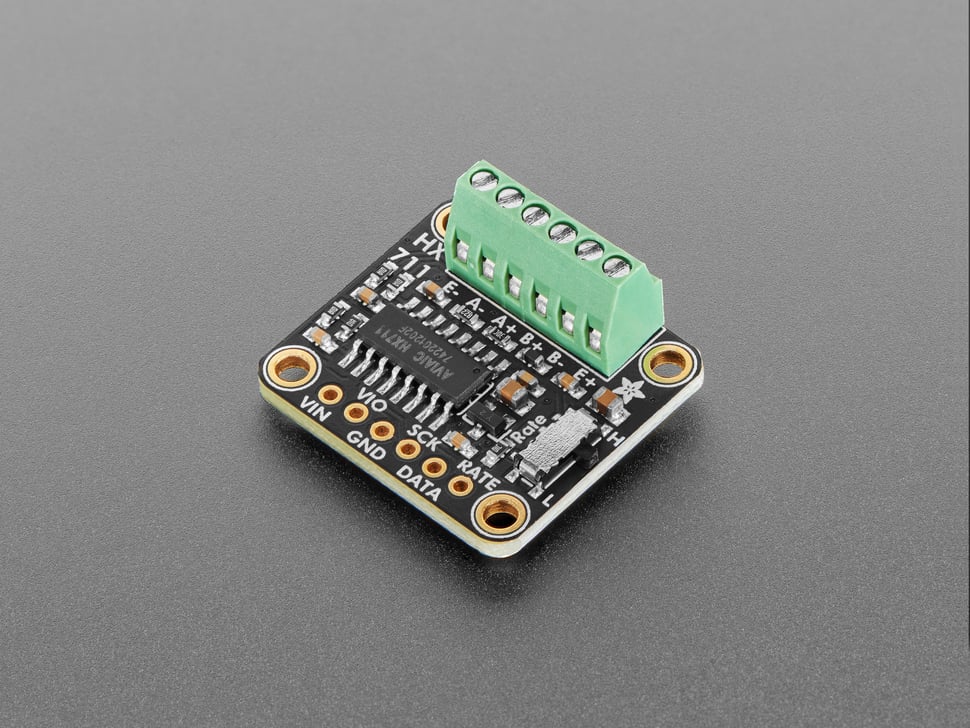
The figure above shows the HX711 load cell amplifier which takes the signal from the load cell and amplifies it and converts it to a nice clean digital signal similar to I2C but not quite. In this chapter we’re going to wire up the load cell and then read the data from amplifier after calibrating it properly.